Getting locked out of your own Windows computer is more common than you think. Maybe you haven't used a PC in months, you inherited an old laptop, or Windows simply stopped accepting a password you know is correct. Whatever the reason — this guide will walk you through resetting any Windows account password using Hiren's BootCD PE, a free and powerful bootable rescue toolkit.
This method works for both Administrator accounts and standard User accounts, and it works on Windows 7, 8, 10, and Windows 11.
What is Hiren's BootCD PE?
Hiren's BootCD PE (Preinstallation Environment) is a free bootable ISO image that loads a mini version of Windows 10 directly from a USB drive — completely independent of your installed Windows. It contains dozens of diagnostic and repair tools, including NTPWEdit and Lazesoft Recovery Suite, both of which can reset Windows passwords without deleting any of your files or data.
Key facts about Hiren's BootCD PE:
- Completely free to download from hirensbootcd.org
- Works on all modern UEFI and legacy BIOS systems
- Based on Windows 10 PE — familiar interface
- Does not delete or format any of your data
- Contains 30+ tools for diagnostics, repair, and recovery
- ISO size: approximately 700MB
What You Will Need
- A USB drive of at least 2GB (contents will be erased)
- A second working computer to create the bootable USB
- Rufus (free tool to write the ISO to USB) — rufus.ie
- The Hiren's BootCD PE ISO — hirensbootcd.org/download
- About 20–30 minutes of your time
Step 1: Download Hiren's BootCD PE
On a working computer:
- Open your browser and go to hirensbootcd.org
- Click the Download button — the file is named something like
Hirens.BootCD.PE.x64.iso - Save the ISO file to your Desktop or Downloads folder
- Also download Rufus from rufus.ie (the portable version needs no installation)
Step 2: Create a Bootable USB Drive Using Rufus
- Insert your USB drive into the working computer
- Open Rufus (double-click the downloaded .exe file)
- Under Device, select your USB drive from the dropdown
- Under Boot selection, click SELECT and browse to the Hiren's BootCD ISO file you downloaded
- Set Partition scheme to GPT (for modern UEFI computers) or MBR (for older BIOS systems)
- Set Target system to UEFI (non CSM) for GPT, or BIOS or UEFI for MBR
- Leave everything else at default
- Click START — Rufus will warn you that the USB will be erased. Click OK to confirm
- Wait for the process to complete — it takes about 5 minutes
- Once done, click CLOSE and safely eject the USB drive
Step 3: Boot the Locked Computer from USB
Now take the USB drive to the locked computer:
- Insert the Hiren's BootCD USB into the locked computer
- Restart the computer
- As soon as the computer starts (before Windows loads), press the Boot Menu key repeatedly. Common keys are:
- F12 — Dell, Lenovo, Acer, most desktops
- F9 — HP laptops
- F8 — some older systems
- Esc — some HP and Compaq systems
- F10 — HP desktops
- A boot menu will appear — select your USB drive from the list
- Press Enter
If you cannot access the boot menu, you may need to enter BIOS/UEFI settings (usually F2 or Delete at startup) and change the boot order to put USB first. Also check that Secure Boot is disabled in BIOS settings, as it can block Hiren's BootCD on some systems.
Step 4: Hiren's BootCD PE Loads
After a short loading screen, you will see a Windows 10-style desktop — this is Hiren's PE environment running entirely from your USB. Your locked hard drive has not been touched yet.
You'll see a taskbar, desktop icons, and a Start menu — all familiar. Take a moment to look around. All the tools you need are accessible from the desktop or Start menu.
Step 5: Reset the Password Using NTPWEdit
NTPWEdit is the simplest and most reliable password reset tool included in Hiren's BootCD PE. It directly edits the Windows SAM (Security Account Manager) database — the file where Windows stores all account passwords.
- On the Hiren's desktop, click the Start menu (bottom left)
- Go to Security → Passwords → NTPWEdit
(Or search "NTPWEdit" in the Start menu search bar) - NTPWEdit will open and automatically detect your Windows installation
- If it doesn't detect automatically, click the three-dot (…) button next to the path field and manually navigate to:
C:WindowsSystem32configSAM - Click Open (or "(Re)open")
- You will see a list of all user accounts on the computer — both Administrator and all user accounts
- Click on the account you want to unlock/reset
- Click "Change password"
- Enter a new password in both fields — or leave both fields blank to remove the password entirely (recommended for simplicity)
- Click OK
- Click "Save changes" in the main NTPWEdit window
- Close NTPWEdit
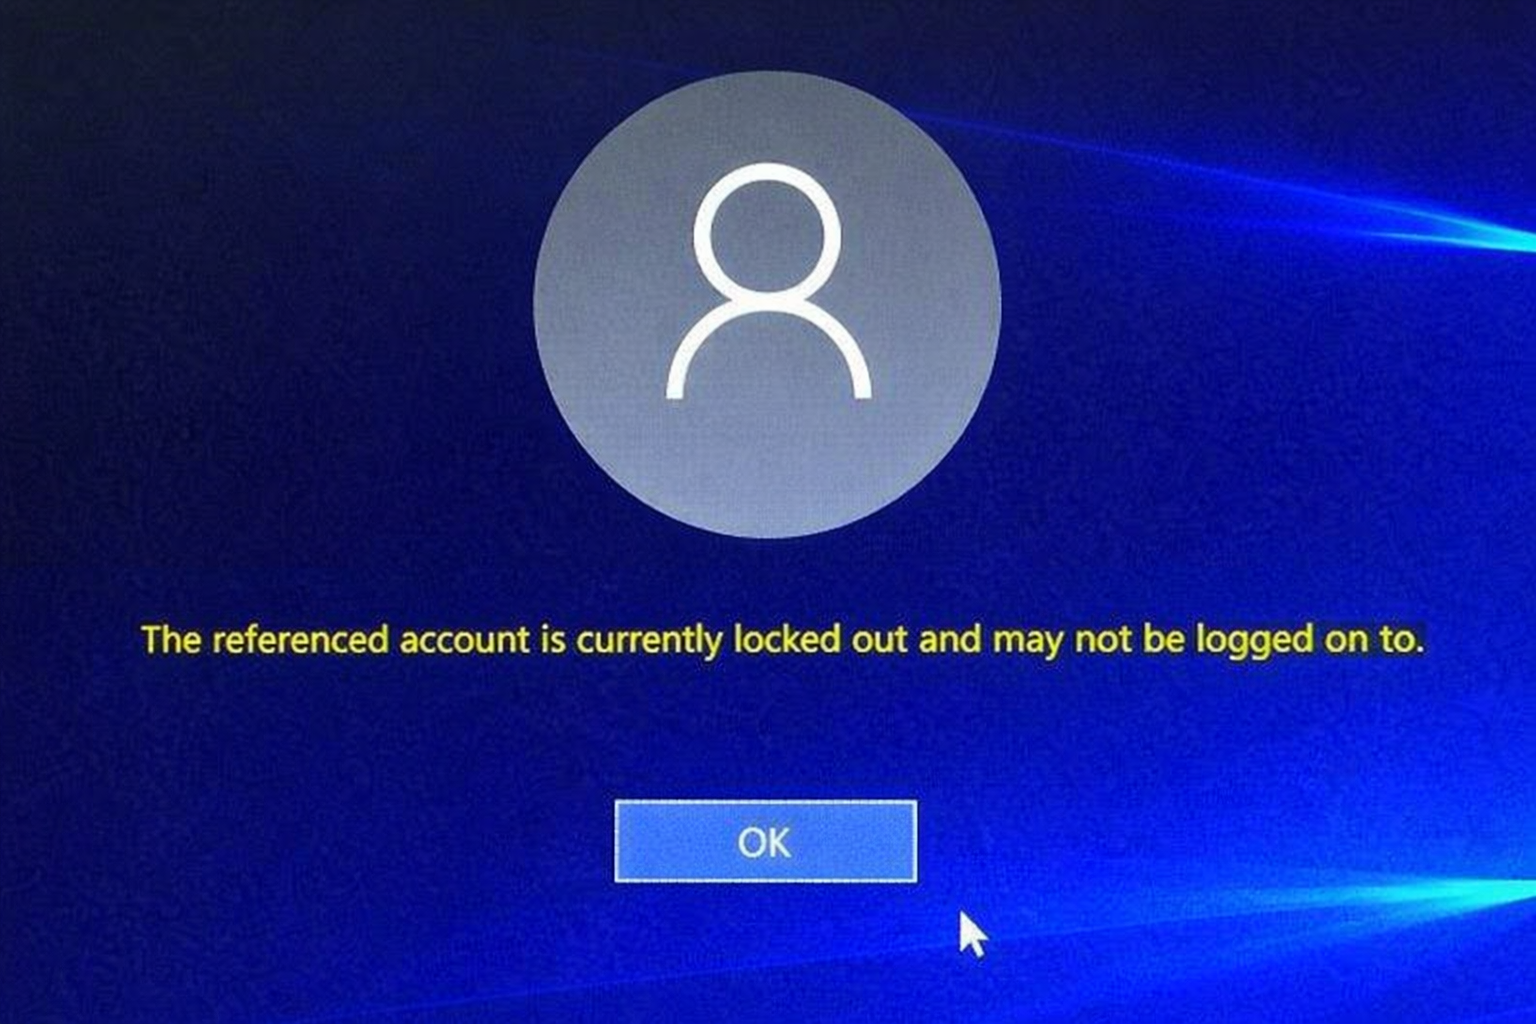
Step 6: Unlock a Disabled or Locked Account
If an account has been disabled or locked out (not just a forgotten password), NTPWEdit handles this too:
- Open NTPWEdit as described in Step 5
- Select the locked account from the list
- Look for a checkbox that says "Account disabled" or "Account locked" — uncheck both
- Also look for "Password never expires" — check this to prevent automatic expiry
- Click OK then Save changes
Step 7: Alternative Method — Lazesoft Recovery Suite
If NTPWEdit doesn't detect your Windows installation (this can happen with some Windows 11 configurations or BitLocker-encrypted drives), use Lazesoft Recovery Suite, also included in Hiren's:
- From the Hiren's desktop, open Start → Security → Passwords → Lazesoft Recovery Suite
- Click "Reset Windows Password"
- Select your Windows installation from the list
- Select the user account you want to reset
- Choose "Reset/Unlock"
- Click Next and follow the prompts
- Lazesoft will reset the password — click Restart when complete
Step 8: Restart and Access Windows
- Once you've reset the password using either tool, remove the USB drive
- Click Start → Restart inside Hiren's PE
- The computer will restart and boot normally into Windows
- On the Windows login screen, click the account you reset
- If you set a blank password — just press Enter without typing anything
- If you set a new password — type it in
- You are now inside Windows!
Step 9: Secure Your Account Immediately After Access
Once you're back inside Windows, do these immediately:
- Press Win + I → Accounts → Sign-in options
- Click Password → Add (or Change)
- Set a strong new password — at least 12 characters with a mix of letters, numbers, and symbols
- Also set up a Password hint or link a Microsoft account for future recovery
- Consider setting up a PIN as an easier alternative to a password
Troubleshooting Common Issues
Computer won't boot from USB:
- Enter BIOS and disable Secure Boot
- Try recreating the USB with MBR instead of GPT in Rufus
- Try a different USB port (preferably USB 2.0 port if available)
NTPWEdit shows no accounts:
- Your drive may be BitLocker encrypted — NTPWEdit cannot access encrypted drives. You will need the BitLocker recovery key (stored in your Microsoft account at account.microsoft.com/devices/recoverykey)
- Try manually navigating to the SAM file path
Password reset but Windows still won't accept it:
- Make sure you saved changes in NTPWEdit before closing
- Try setting a blank password instead of a new one
- If the account is a Microsoft account (not local account), the password is managed online — visit account.microsoft.com to reset it
Windows shows "The user name or password is incorrect" after reset:
- This usually means it's a Microsoft account linked login, not a local account. Reset at account.microsoft.com instead
Microsoft Account vs Local Account — Important Difference
This guide works for Local Accounts only. If Windows 10/11 is set up with a Microsoft account (your email address as login), the password is stored on Microsoft's servers, not on your computer. NTPWEdit cannot reset it.
For Microsoft accounts:
- Visit account.microsoft.com from any device
- Click "Forgot password"
- Verify via email or phone number linked to the account
- Reset the password online — Windows will sync it automatically
To check if you have a local or Microsoft account: Settings → Accounts → Your Info. If it shows an email address, it's a Microsoft account.
Prevention — Never Get Locked Out Again
- Set up a Password Reset Disk: Control Panel → User Accounts → Create a password reset disk (Windows 10)
- Link a Microsoft account: Allows password reset from any device online
- Enable PIN login: Easier to remember than complex passwords
- Use Windows Hello: Fingerprint or face recognition — no password to forget
- Store passwords in a password manager: Bitwarden (free) or 1Password
- Write it down: Store a physical copy in a safe, secure location
Getting locked out of Windows is stressful, but with Hiren's BootCD PE it's a solvable problem in under 30 minutes. If you're uncomfortable doing this yourself, our remote support team can guide you through every step — or if the issue involves BitLocker encryption or hardware problems, our ship-in repair service can help get you back up and running.