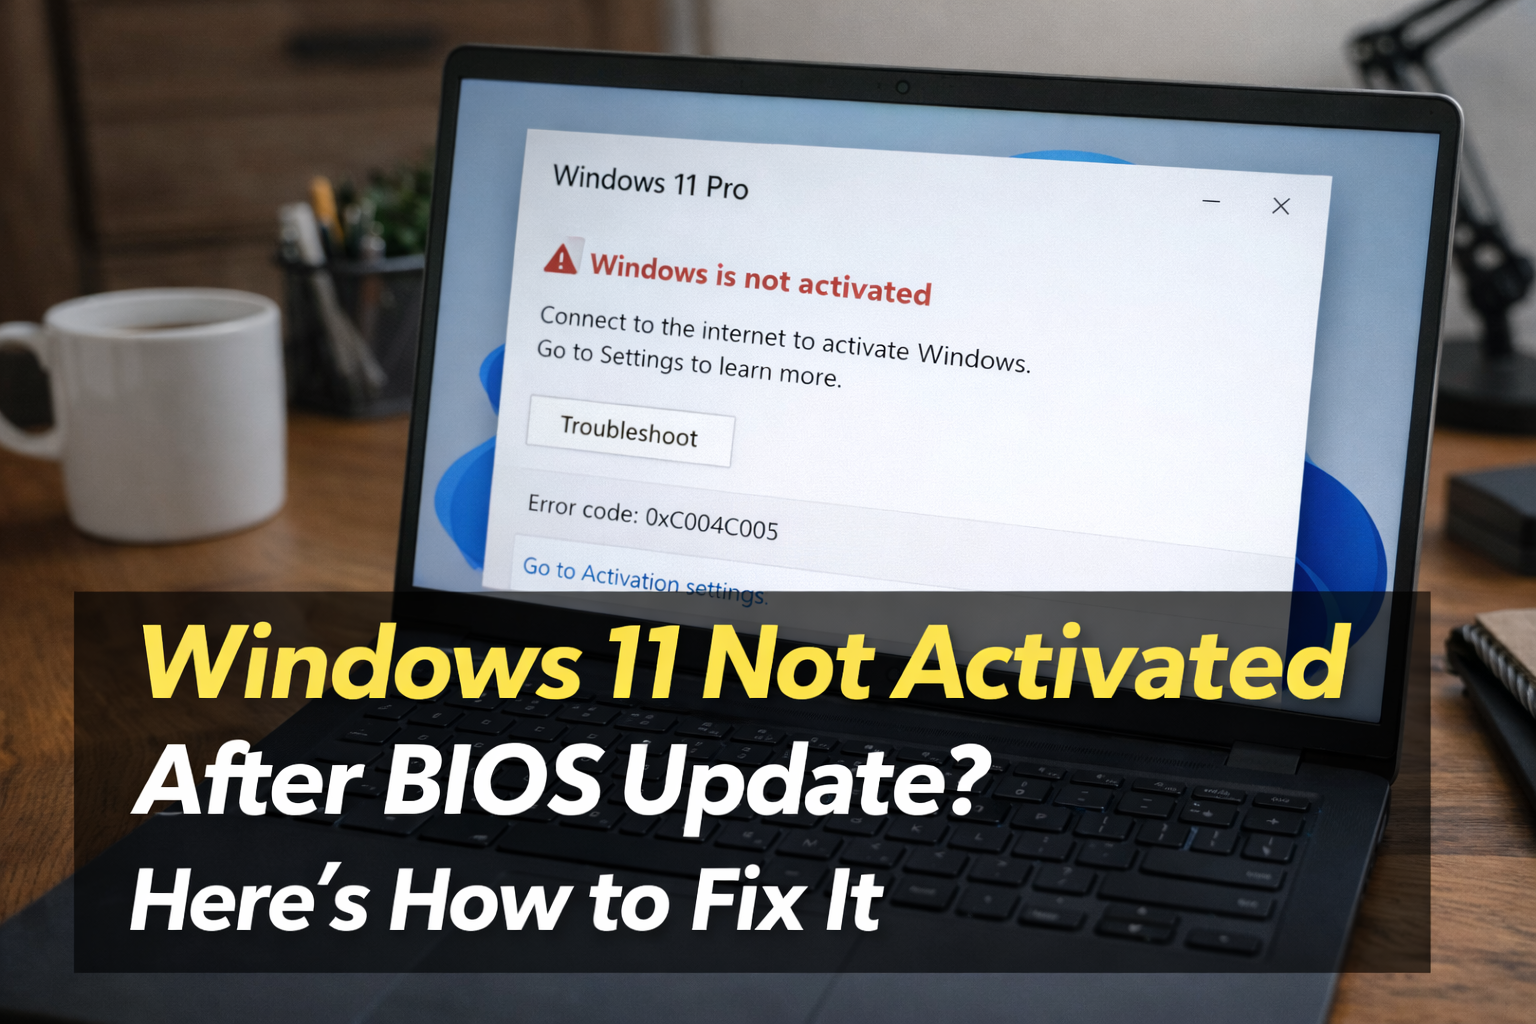
You updated your laptop's BIOS — and suddenly Windows 11 shows "Windows is not activated" with a watermark on your desktop. Your settings are restricted, your wallpaper is locked, and no matter what you try, it won't reactivate. This is one of the most frustrating post-BIOS issues users face, and it's more common than Microsoft admits.
The good news: in almost every case, your Windows licence is still valid. The activation simply got disconnected because the BIOS update changed how your laptop identifies itself to Microsoft's servers. Here is exactly how to fix it.
Do NOT buy a new Windows licence. You almost certainly don't need one. Your original licence is stored in Microsoft's servers linked to your Microsoft account or your laptop's motherboard. Follow these steps first.
Why Does a BIOS Update Deactivate Windows 11?
Windows 11 uses a hardware fingerprint to verify your licence — it checks your CPU, motherboard, RAM configuration, and BIOS/UEFI data together. When a BIOS update changes firmware identifiers, Windows sees it as a "different computer" and flags the licence as potentially moved to a new machine.
There are three types of Windows 11 licences — and the fix depends on which type you have:
| Licence Type | Where It's Stored | How to Identify |
|---|---|---|
| OEM (most common) | Embedded in BIOS/UEFI | Came pre-installed with your laptop |
| Retail | Microsoft account | You bought a key separately |
| Digital Licence | Linked to Microsoft account | Upgraded free from Windows 10 |
Step 1 — Check Your Activation Status First
Before doing anything else, see exactly what error Windows is showing.
- Press Win + I to open Settings
- Go to System → Activation
- Note the exact error message and code
| Error Code | Meaning | Go To |
|---|---|---|
| 0xC004F213 | Hardware change detected — licence mismatch | Step 2 |
| 0xC004F211 | Licence tied to different hardware | Step 2 |
| 0x803F7001 | No licence found at all | Step 4 |
| 0xC004C003 | Product key blocked | Step 5 |
| 0x8007007B | Invalid product key format | Step 3 |
| 0xC004F025 | Activation server unavailable | Step 6 |
Step 2 — Use the Activation Troubleshooter (Fixes 70% of Cases)
Windows 11 has a built-in troubleshooter specifically for this hardware-change scenario. This is the first thing to try — it works most of the time for BIOS update deactivations.
- Go to Settings → System → Activation
- Click "Troubleshoot" (or "Activation Troubleshooter" if visible)
- Sign in with your Microsoft account when prompted
- Select "I changed hardware on this device recently"
- Select your device from the list shown
- Click Activate
If the troubleshooter doesn't appear or says it can't help, continue to Step 3.
Step 3 — Link Your Licence to a Microsoft Account
If your Windows 11 was activated with a digital licence but you were not signed into a Microsoft account, the licence has no way to survive a hardware change. Linking it now can restore activation.
- Go to Settings → Accounts → Your info
- Click "Sign in with a Microsoft account instead"
- Sign in or create a Microsoft account
- Once signed in, go back to Settings → System → Activation
- Click Troubleshoot and try again
This links your digital licence to your Microsoft account, making it portable across hardware changes in the future.
Step 4 — Extract and Re-enter Your OEM Product Key
Most laptops (Dell, HP, Lenovo, Asus, Acer) have a Windows product key embedded directly into the BIOS/UEFI firmware. A BIOS update can sometimes reset this. You can extract the key stored in your current BIOS and re-enter it manually.
Extract the embedded OEM key:
- Open PowerShell as Administrator
- Run this command:
(Get-WmiObject -query 'select * from SoftwareLicensingService').OA3xOriginalProductKey - If a key appears (format: XXXXX-XXXXX-XXXXX-XXXXX-XXXXX) — copy it
- Go to Settings → System → Activation → Change product key
- Enter the key and click Next
If the command returns blank, your laptop uses a PKID (Product Key ID) instead of a full key — common on newer laptops. This is normal. The licence is still there but handled differently. Move to Step 5.
Step 5 — Activate by Phone (Works When Online Activation Fails)
If online activation keeps failing, Microsoft's phone activation system uses a different verification method and often succeeds when the online method doesn't.
- Press Win + R → type
slui 4→ press Enter - Select your country — choose India
- Call the toll-free number shown on screen
- Follow the automated system — enter the Installation ID shown on your screen
- The system gives you a Confirmation ID
- Enter the Confirmation ID in the boxes on screen
- Click Activate Windows
Microsoft's India phone activation line is available 24/7 and is completely free.
Step 6 — Activate via Command Line (Advanced)
Sometimes the Windows activation service itself gets stuck after a BIOS update. These commands reset and restart it.
Open Command Prompt as Administrator and run these commands one by one:
net stop sppsvc— stops the licence servicenet start sppsvc— restarts it freshslmgr /ato— forces an online activation attempt- Wait 30 seconds and check activation status
If that doesn't work, also try:
slmgr /upk— uninstalls current product keyslmgr /cpky— clears key from registryslmgr /skms kms.msguides.com— sets KMS serverslmgr /ato— activates again
Step 7 — Check If BIOS Has Been Reset to Default
Some BIOS updates reset all settings to factory default. This can affect the SLIC (System Licence Internal Code) table — the part of BIOS that stores your OEM Windows licence.
- Restart your laptop and enter BIOS (see brand key table in our other guides)
- Look for a setting like "Load Optimised Defaults" or "Restore Defaults"
- Do NOT apply defaults — instead look for any settings related to SLIC, OEM activation, or Windows licence
- If the BIOS shows a Windows product key section — verify it's populated
- Save and exit, then try activation again
Step 8 — Contact Microsoft Support Directly
If all the above steps fail, your case needs human review at Microsoft. This is free and usually resolves within 24 hours.
- Go to support.microsoft.com
- Select Windows → Activation
- Choose Chat or Call back
- Explain exactly: "My Windows 11 deactivated after a BIOS update on my [brand] laptop. I have not changed my hardware or moved the licence."
- Have your laptop model number and serial number ready
- Microsoft support can manually reactivate from their end
Microsoft support for activation issues is free — you do not need a paid support plan.
Prevention — How to Avoid This After Future BIOS Updates
- Link Windows to your Microsoft account before any BIOS update — this is the single most important step. Go to Settings → Accounts → Sign in with Microsoft account
- Note your Windows licence key before updating BIOS — run the PowerShell command from Step 4
- Only update BIOS when absolutely necessary — don't update BIOS just because an update is available
- After any BIOS update, immediately check Settings → System → Activation to confirm status
Quick Fix Summary
| Situation | Best Fix | Time Needed |
|---|---|---|
| Error 0xC004F213 / hardware change | Step 2 — Activation Troubleshooter | 2 minutes |
| Never linked to Microsoft account | Step 3 — Link account first | 5 minutes |
| OEM laptop (Dell/HP/Lenovo/Asus) | Step 4 — Extract embedded key | 3 minutes |
| Online activation keeps failing | Step 5 — Phone activation | 10 minutes |
| Activation service stuck | Step 6 — Command line reset | 5 minutes |
| Nothing works | Step 8 — Microsoft support | 30 minutes |
Still Can't Activate Windows 11?
If you have tried every step above and Windows 11 is still showing as not activated, the issue may be a deeper BIOS firmware corruption or a licence conflict that requires professional diagnosis.
Our certified technician can connect to your laptop remotely, run a full licence diagnosis, and get Windows properly activated — in under 30 minutes for just ₹500. We handle this exact issue regularly for customers across India.